Wednesday, November 14, 2012

DIY Deer Silhouette


Photobucket

I am in the process of Christmas decorating! I love this time of year. I have a long list of things to make, as they get done i'll be sure to put them up for you guys. Here is a very easy tutorial for a deer silhouette. Enjoy!

Photobucket

To start, I looked online for a deer silhouette, and just free handed an outline onto some computer paper taped together (Fancy I know). Then I cut it out, and laid it down on some pallet wood I cut to size and traced.

Photobucket

Then I painted the deer a few coats of white and filled in the background with some dark wood stain. I think this is the first piece I've done that I have not sanded and distressed. It really does not need it, it turned out beautiful! Im going to try a horse silhouette next for my son's room.


Beyond The Picket Fence

Tuesday, November 6, 2012

Key to My Heart Button Sign

Here is another little sign I made. This one only took a few minutes and is really easy.


Photobucket

Happy Crafting!


Beyond The Picket Fence

Pallet Wood Sign

Here are a few pictures of the new sign I made. I was planning on hanging it in our house, but this one will be for sale in my Etsy shop as soon as I open it up! Enjoy:)


Photobucket


Photobucket


Photobucket


Photobucket


Photobucket


Photobucket


Photobucket

Happy Tuesday!


Beyond The Picket Fence

Sunday, November 4, 2012

Cable Reel Side Table

Today was supposed to be a lazy Sunday, but sense the husband is gone I figured I'd take some time to do some projects. This one wasn't on the list, I was on Pinterest and saw 
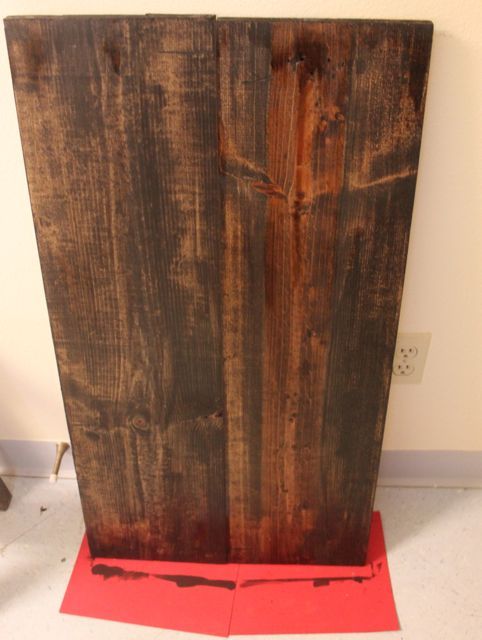
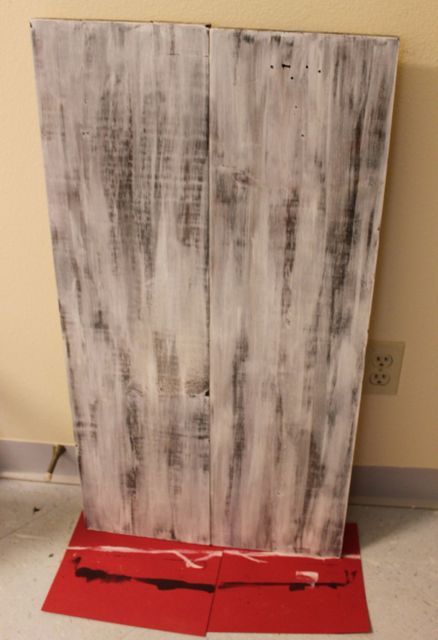
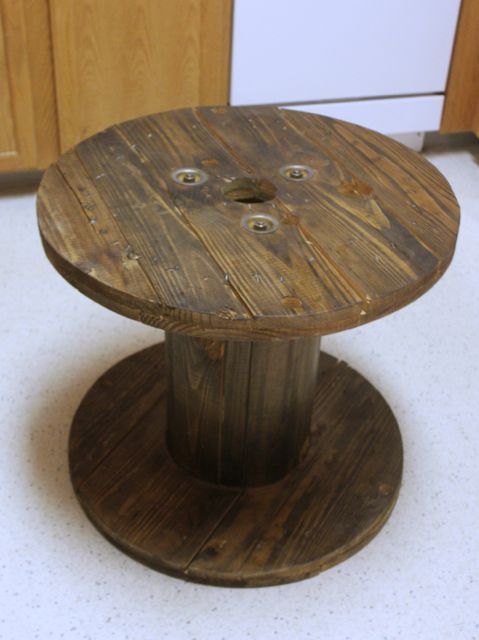
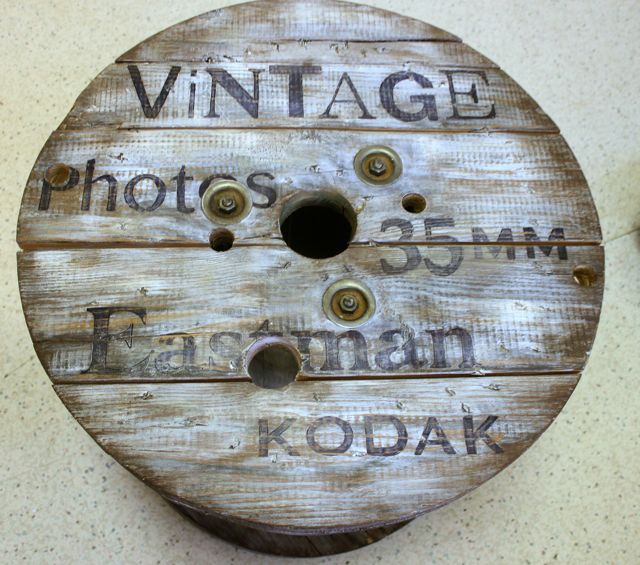
this post from Bliss ranch and fell in love! I had been wanting to redo our cable reel side table we pulled out of the wood pile awhile back, but I didn't know what I wanted to do with it. Here it is before:

Photobucket

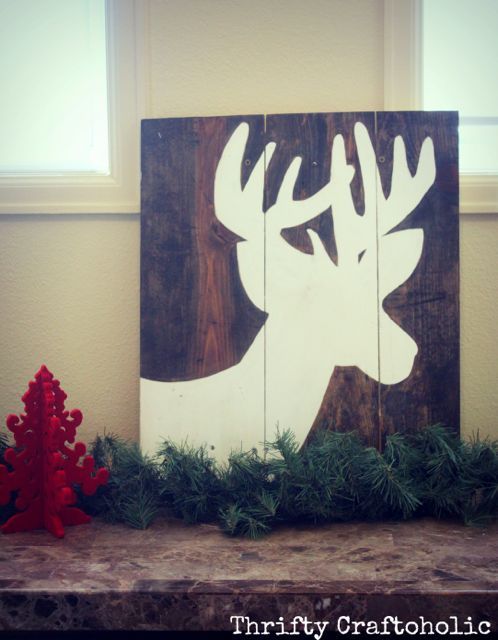
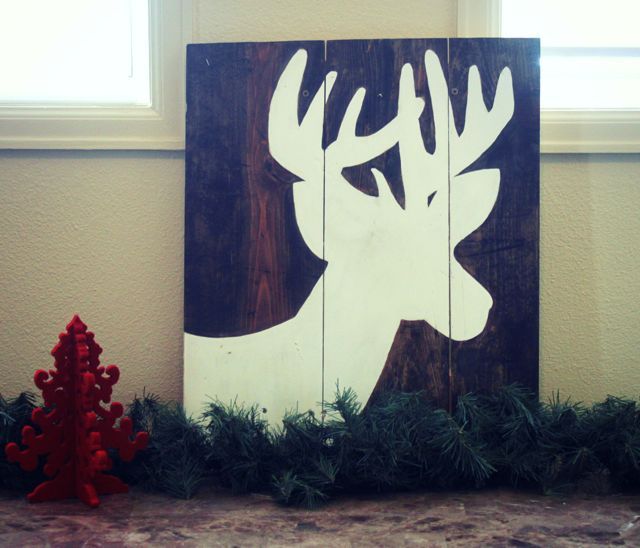
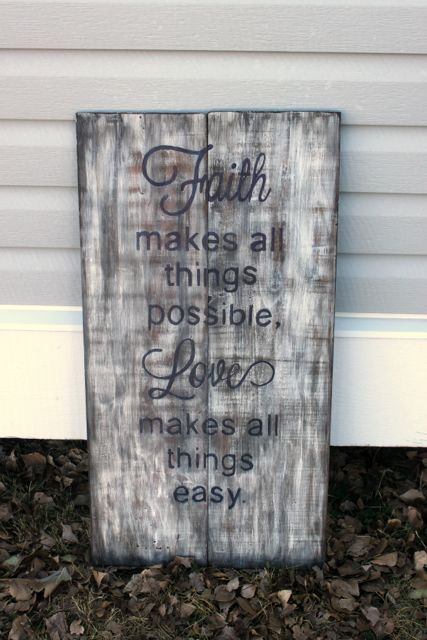
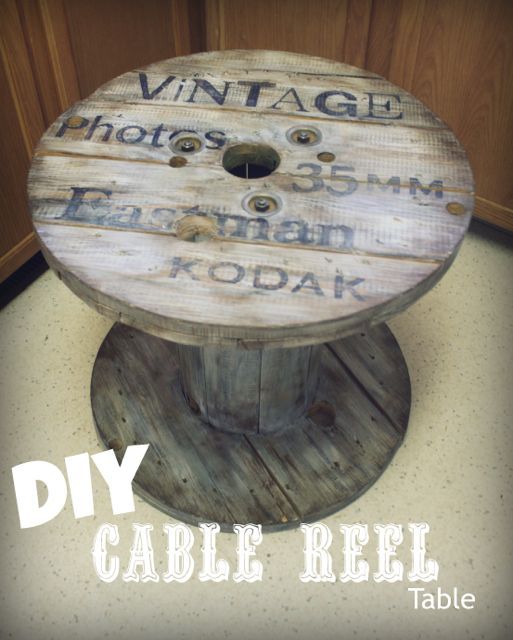
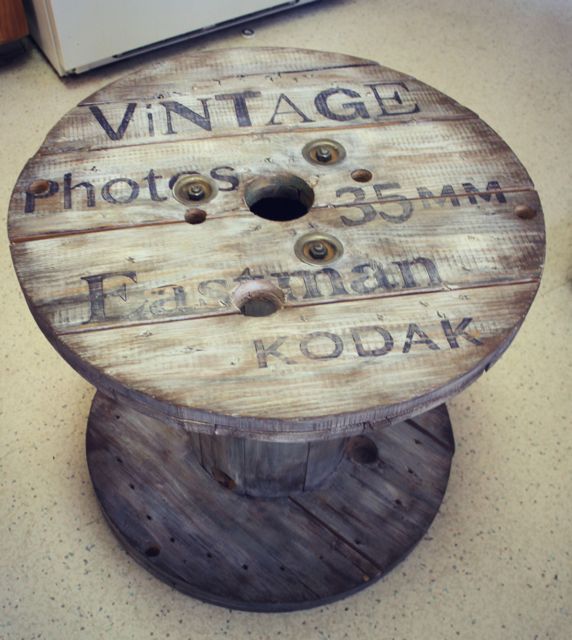
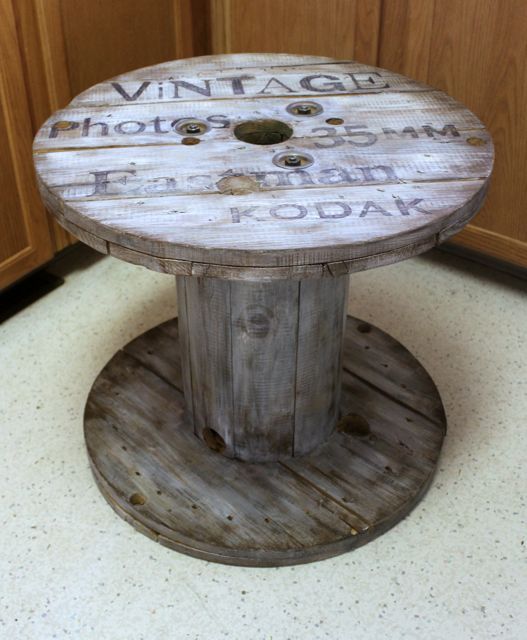
We cleaned it, sanded the heck out of it, stained and sealed it and it's been sitting in our living room sense. Her she is today:
Photobucket

I wish you guys could see this baby in person, pictures just do not do it justice! If you want to see the transformation, keep reading.
Warning: Lots of pictures in this post!

Photobucket

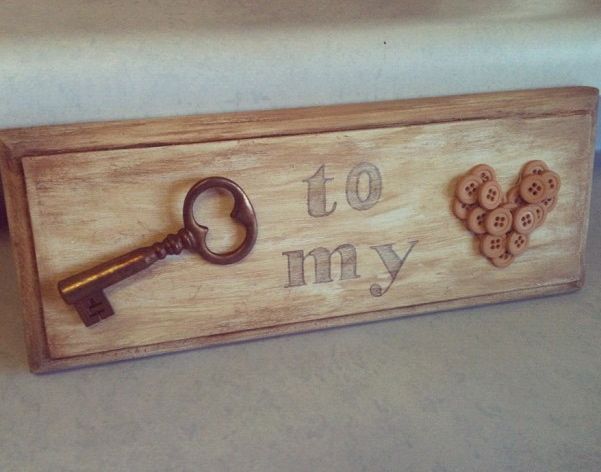
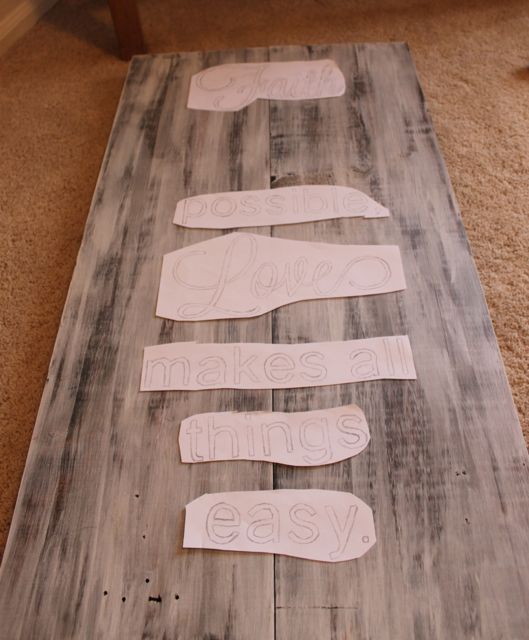
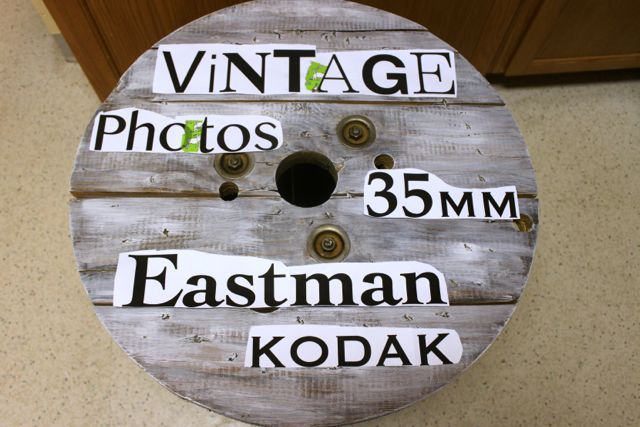
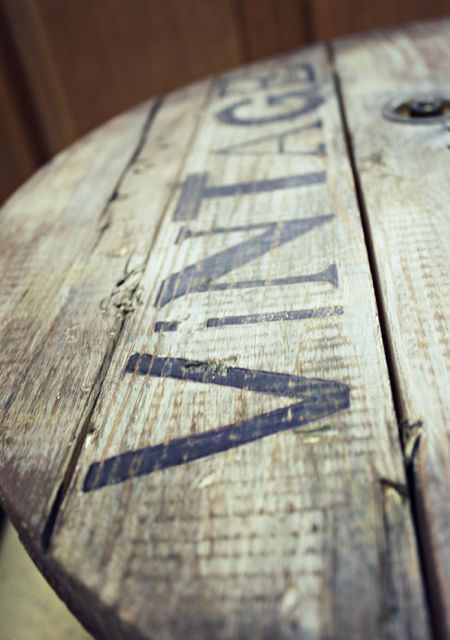
I printed off what I wanted it to say and layed it on the table where I liked it.

Photobucket

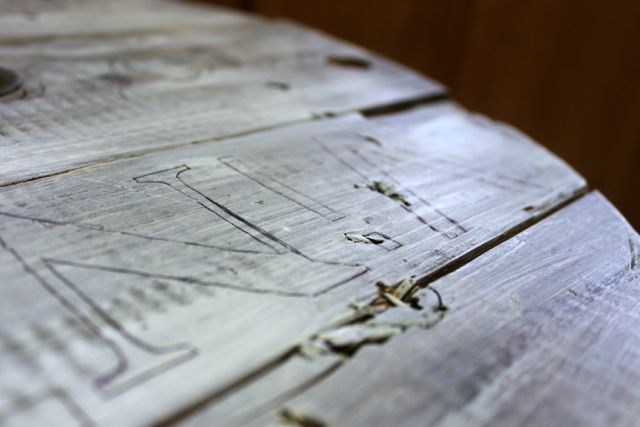
Then using a black pen, I traced each letter till my arm hurt!

Photobucket

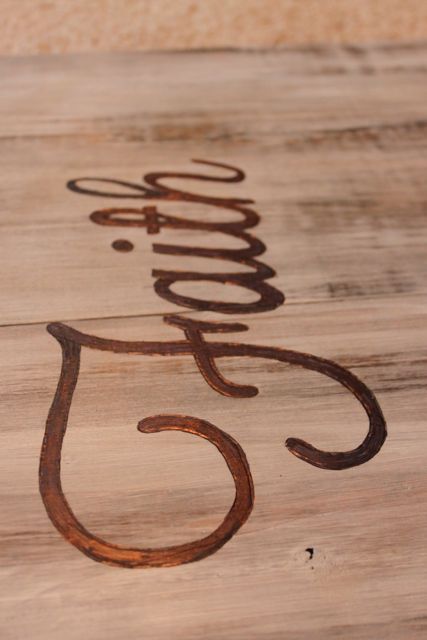
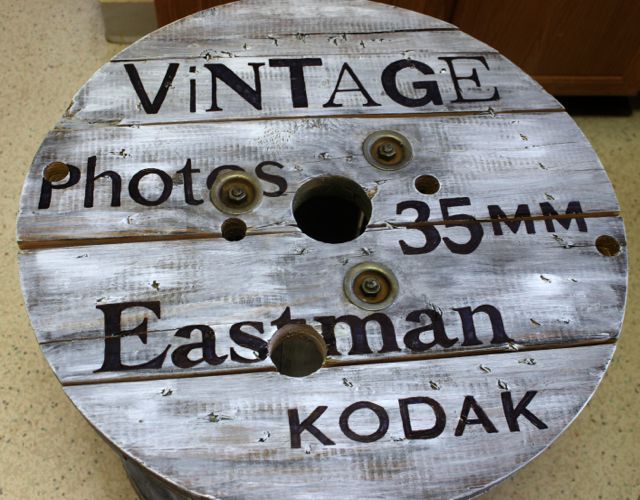
Using a black Sharpie marker (I love these things), I filled the letters. I never make them perfect sense they will be sanded anyway.

Photobucket

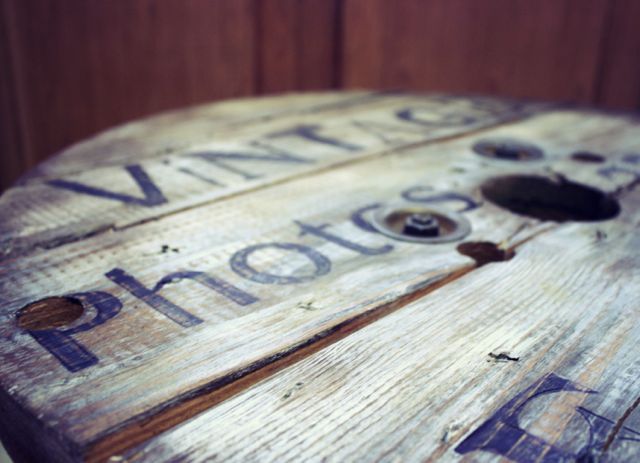
I didn't do heavy sanding, just light on the edges and the letters. I usually stop here, but she didn't look right to me just yet.

Photobucket

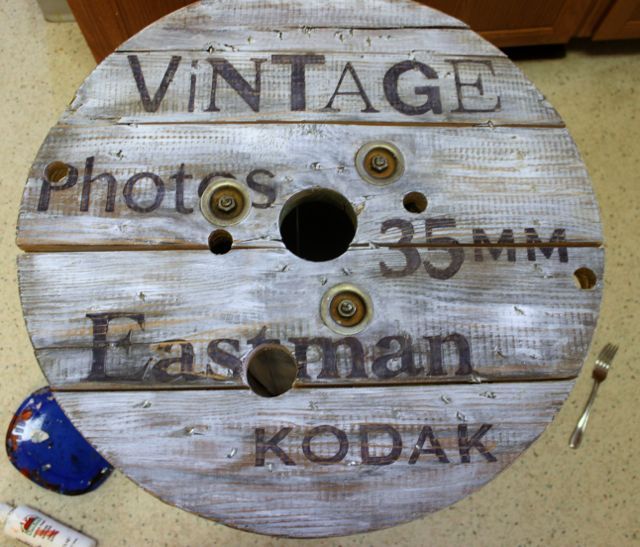
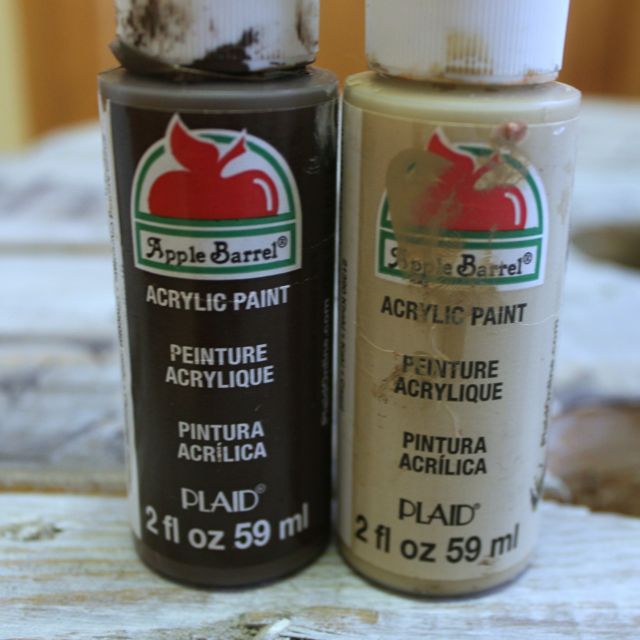
So I took some basic acrylic paint and dry brushed.

Photobucket

Now Im starting to love her!

Photobucket

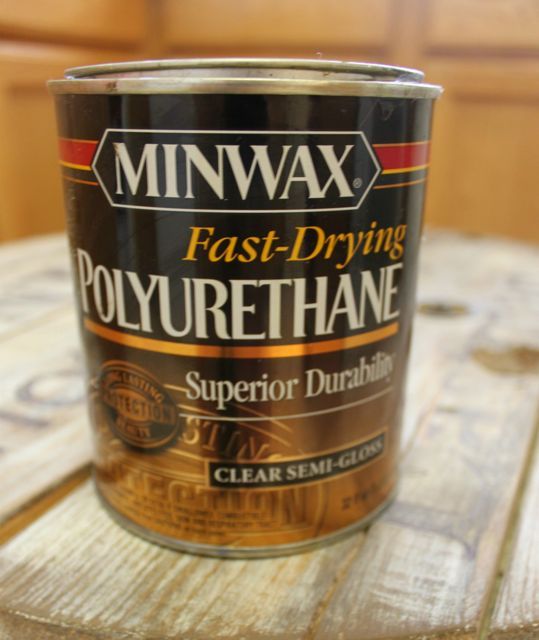
Sealed her with my Polyurethane semi-gloss sealer sense she will be used (and beat up by my 2 year old) daily.

Photobucket 

Photobucket Photobucket

Photobucket

Price:   Cable reel-free
                 Paint- already had
                              Stencils- made from printer

Total Cost: FREE!


PS: I have been getting a lot of questions asking how I do my letters. I have been contemplating on making a video for my blog showing you guys exactly how it is done so stay tuned!


           Beyond The Picket Fence


Beyond The Picket Fence