I just want to go ahead and apologize for these horrible pictures! I had no idea what I was doing, I was just going with the flow and I didn't think this would work out at all. That being said... I wanted to make some scary props for Halloween this year, I couldn't find tutorials anywhere on how to do it, so I decided to wing it!
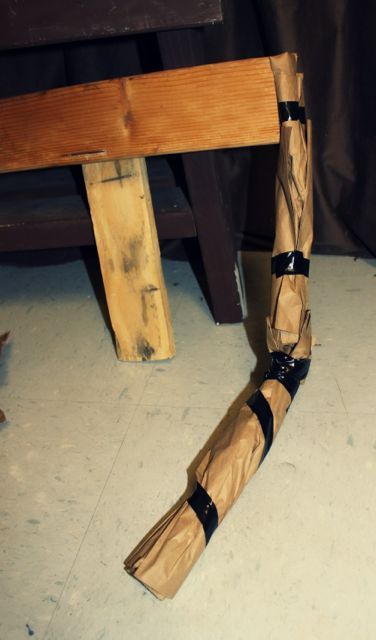
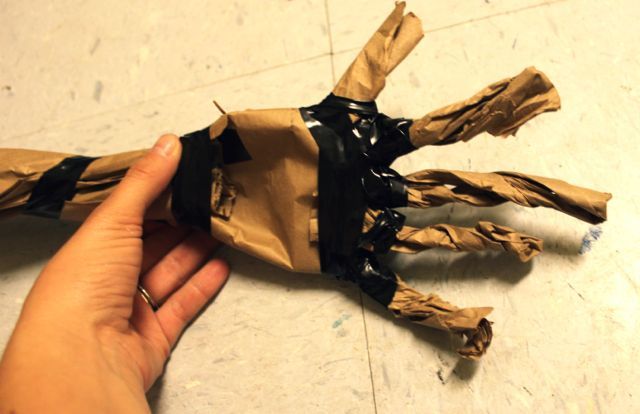
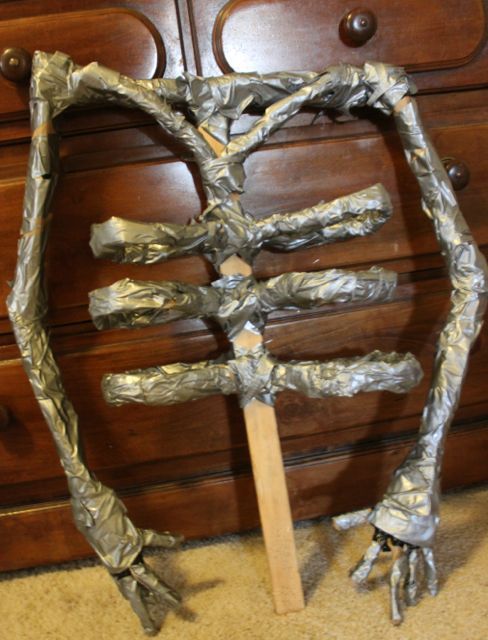
To start I built my base from some leftover wood (I changed my base later on). And then using brown paper bags (or newspaper, etc. whatever you have) I started forming arms, and hands, using tape to keep them in place.
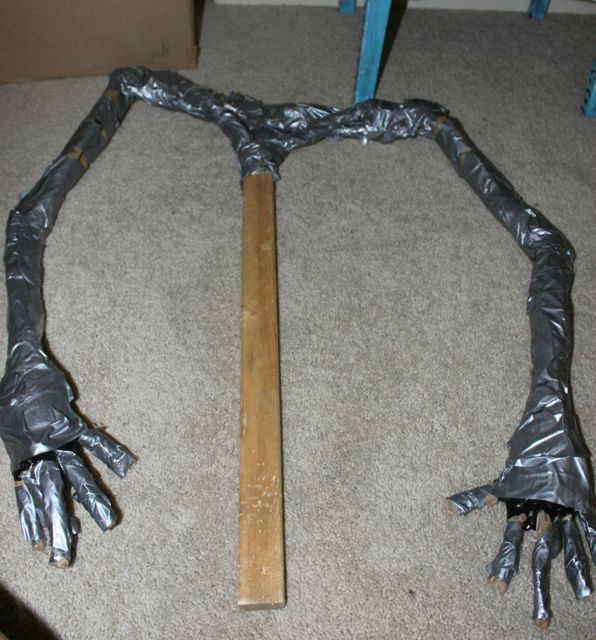
I used some duct tape and wrapped everything up tight to make them look more it look more like bones. I changed my base also so a skinny stick, and made the shoulders out of paper.
Then I added some ribs, and the colar bones.
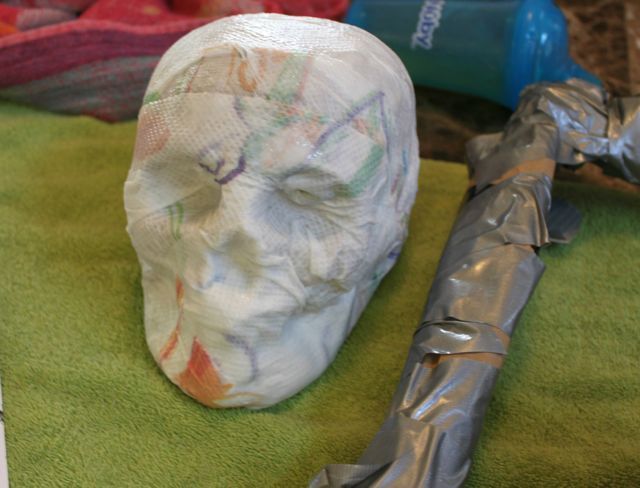
I bought a Skeleton head and did some paper mache on it, that way I can make a couple for free!
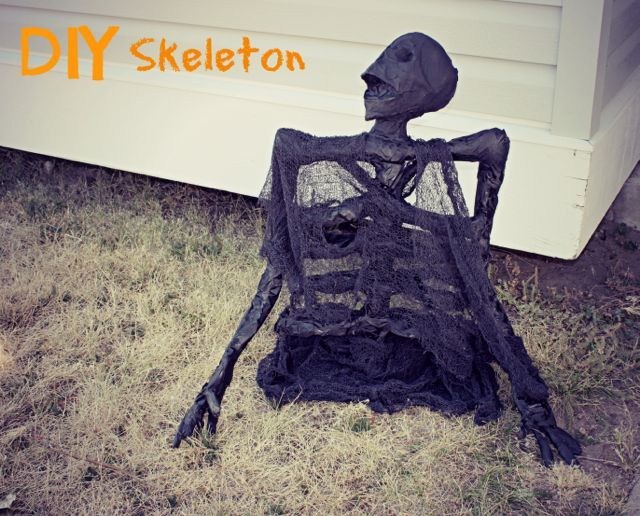
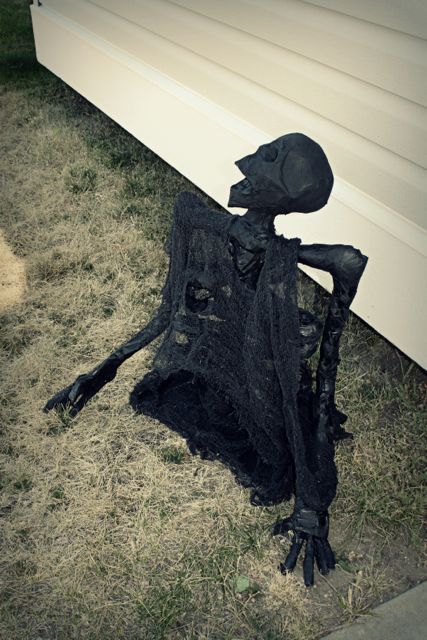
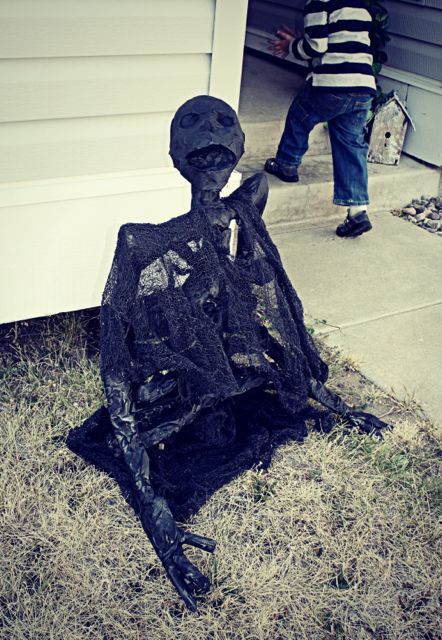
Here he is in my front yard, Im thinking he needs a gravestone and some dirt so it looks like he is breaking free from the ground?? I painted him flat black, and attached the head using duct tape. I then laid some cloth over him (you can get this at Dollar Tree for $1 a pack). I ended up attaching him to a flat piece of wood on the bottom so he is more sturdy. I know this is not a very in depth tutorial, I plan on making a few more of these guys and I will be sure to take ALOT of picture for you guys.
Overall costs- Duct tape:$6
Skeleton Head:$5.99
Cloth:$1
Everything else I had on hand. Not bad for $12.99!
Any questions just leave me a comment and Ill get back with you guys.


