I can't even begin to describe how excited I am to be making my first post! I have been waiting for this for a long time. I am still very new to the blog world, so bare with me for a little while. Thankyou so much for stopping by and checking it out, I will make sure to post new tutorials for you guys every chance I get because my hands are always creating something! Enough chit chat though lets get to the crafting! I am showing you guys how to make flower bows for your hair, I have been obsessed with them lately and wear them with almost every outfit. I hope i explained everything easy enough, any questions just post a comment!
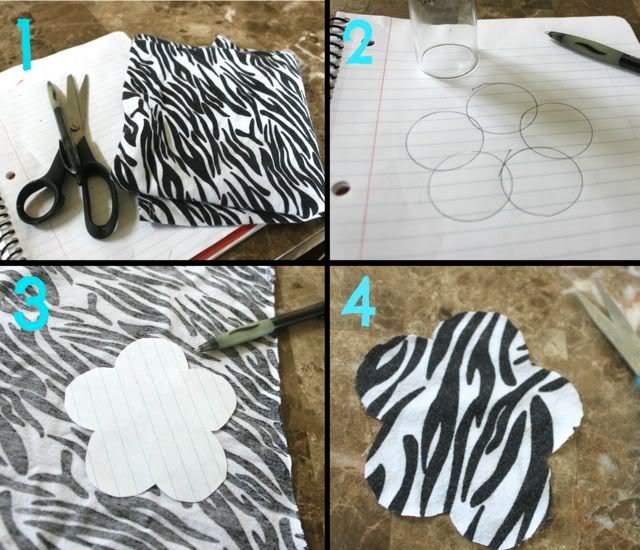
Step 1. You will need scissors, pen and paper, fabric of your choice, bobby pin, and a hot glue gun.
Step 2. Find something to trace (I used a shot glass) or free hand a flower.
Step 3. Trace you flower onto your fabric. You will need 10 flowers.
Step 4. Cut out all of your flowers.
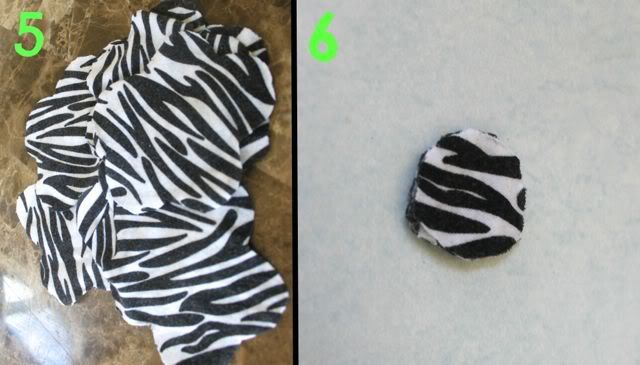
Step 5. Gather all of the flowers. Do your hands hurt?? Mine did!
Step 6. Make a small circle out of your fabric. My fabric was very thin so i just layered it a few times and glued them together. This will be the base of the flower. (It docent have to be pretty, only you will ever see it.)
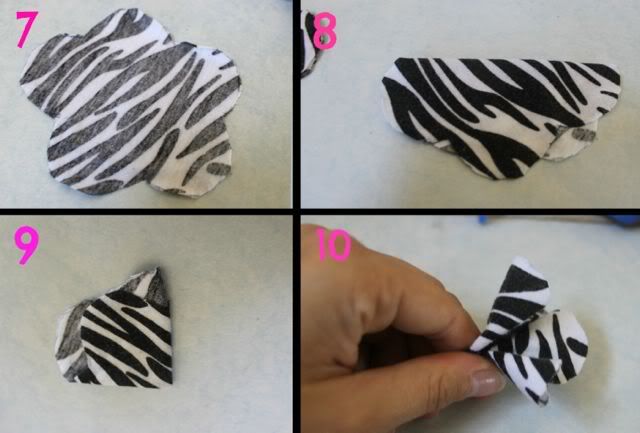
Step 7. Take one flower and lay it face down.
Step 8. Fold over one side.
Step 9. Fold your flower over again. (Its so hard i know!)
Step 10. Gather you flowers in your fingers.
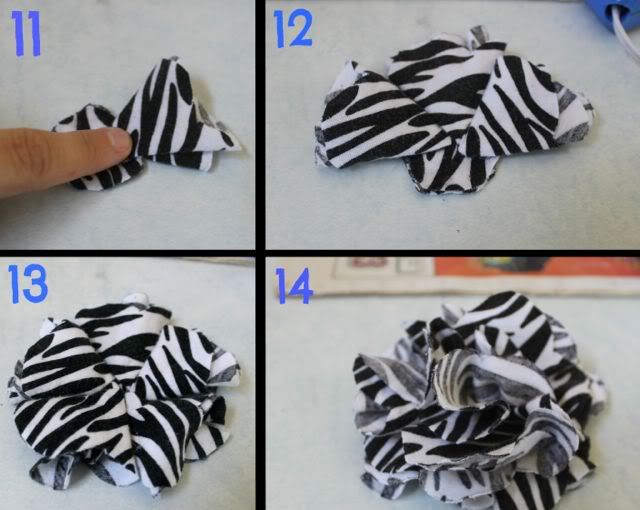
Step 11. Put some hot glue down on your circle and press your petal down till its dry.
Step 12. As you can see i just did a few more flowers.
Step 13. The bottom layer will have 5 flowers.
Step 14. I got a little ahead of the camera, like I said the first layer has 5 flowers, the second layer has 4, and then you add one to the middle.
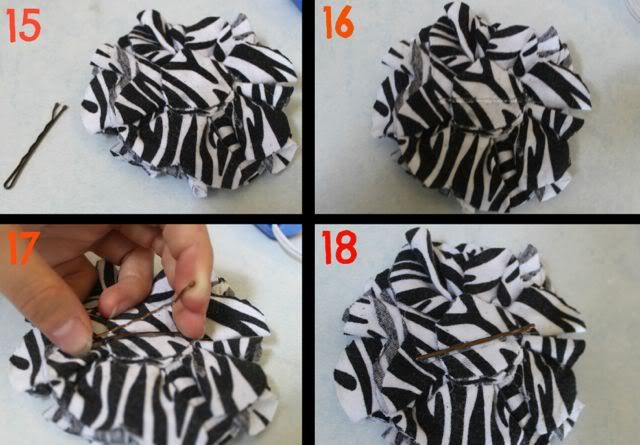
Step 15. Turn your flower over and get your bobby pin ready.
Step 16. Add a thin line of hot glue this and the next step goes very quickly!
Step 17. Spread open the bobby pin as wide as you can an press the straight side down into the glue. Hold it just like the picture for a few seconds until the glue is dry enough not to glue the bobby pic shut.
Step 18. This is what it should look like.
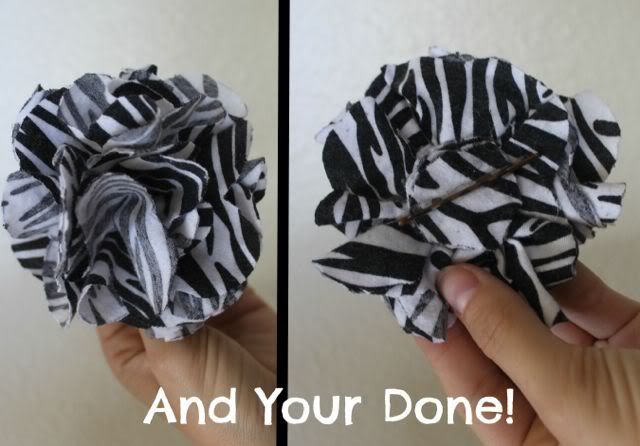
I usually hold it by the bobby pin and give it a good little shake to make it poof up.
Hope you guys got it! Let me know what you thought of my first tutorial, tips, advice, and comments are all welcome!
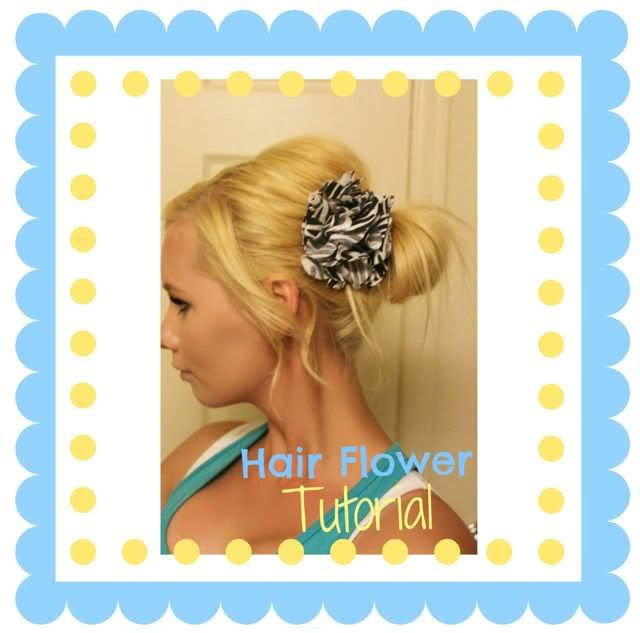

Love this!!
ReplyDeleteThis is such a cute idea :) Congrats on your first blog!
ReplyDeleteThis is very exciting Congratulations! This is something I would really like to try and make the step by step directions and photos are perfect and make it easy to follow thank you
ReplyDelete